Introduction:
In this article we will check how we can copy new and changed files based on last modification date. The steps have been given below with explanation and screenshots. As of this writing Azure Data Factory supports only the following file formats, but we can be sure that more formats will be added in the future.
- Avro format
- Binary format
- Delimited text format
- Excel format
- JSON format
- ORC format
- Parquet format
- XML format
Incremental file copy:
In data integration, incremental copy of data or files is a common scenario. Incremental copy can be done from database or from files. For copying from database, we can use watermark or by using CDC (Change data capture) technology. But here we are going to see how to do incremental copy on file level using last modified time from azure blob storage.
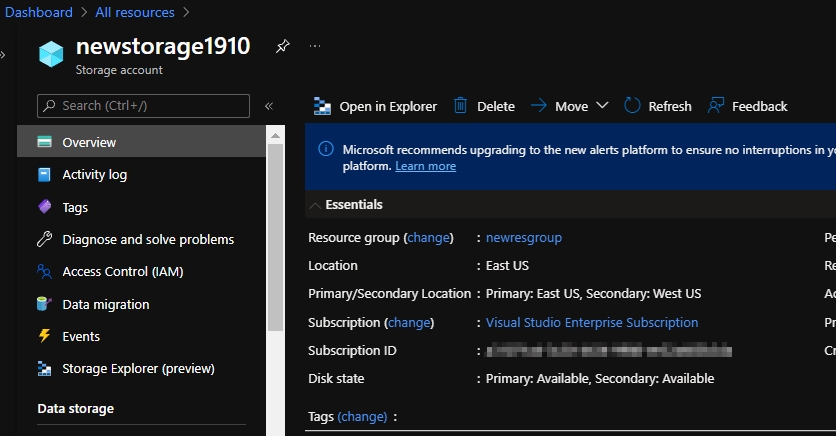
Create Storage Account:
I have created a simple blob storage account for holding all my files. You can create a new one if you want(refer my previous blogs on how to create one) or use the one you have it currently.
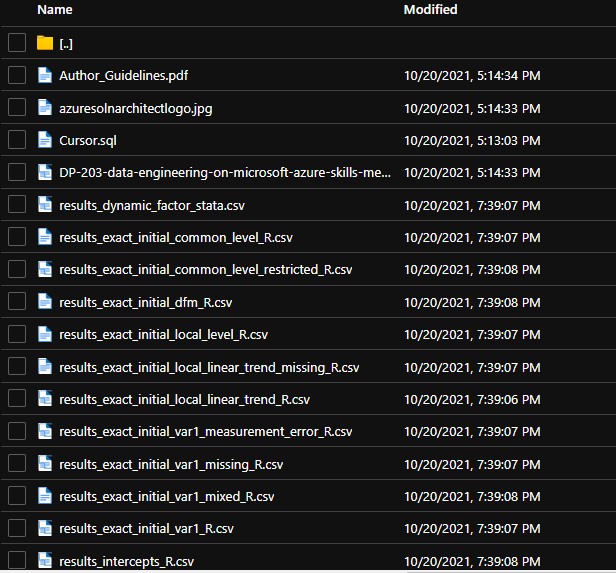
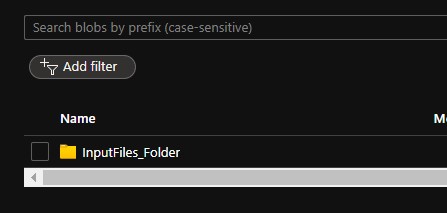
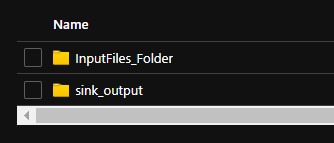
Once inside the blob I have created a container called ‘inputfiles’ and uploded some files into it.
Once you have all the files ready inside the blob create new azure data factory instance or use an existing one. I am creating a new one since I have deleted all the resources already. As usual once created go to the azure data factory studio and go into author mode; the little pencil icon on left hand side. If you have any doubts or want to see how to create one, refer my previous blogs where step by step instructions has been given with screenshots.
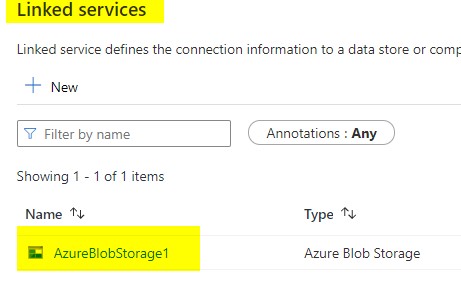
The next step is to map the blob we created earlier to create a new linked service that can be used to call it inside the pipeline. I have covered it in my previous article hence I will skip it.
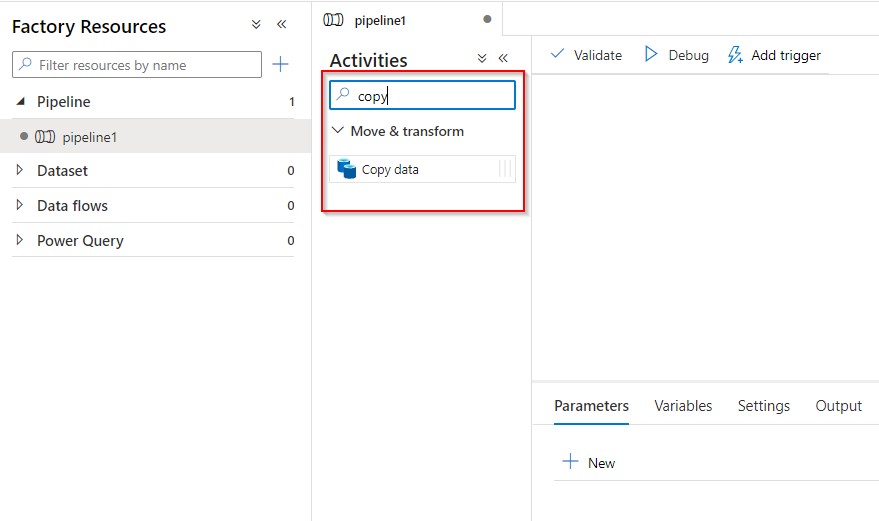
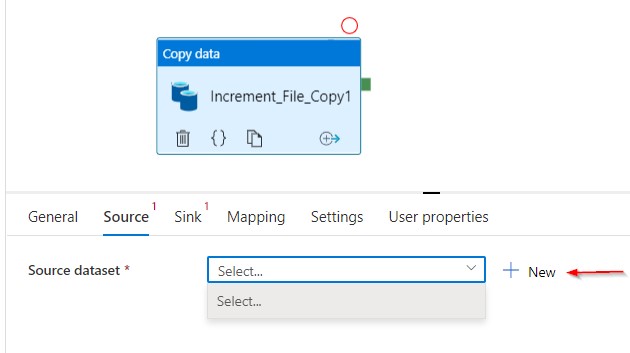
Now head back to author tab to create new pipeline. Type ‘Copy’ in the search tab and drag it to the canvas; Its with this we are going to perform incremental file copy.
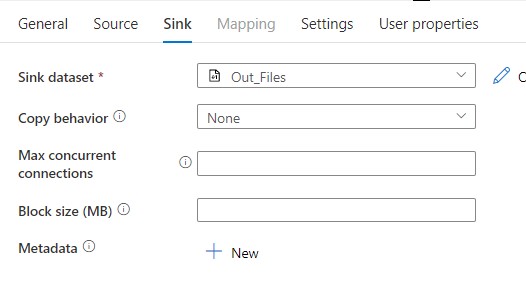
The two important steps are to configure the ‘Source’ and ‘Sink’ (Source and Destination) so that you can copy the files.
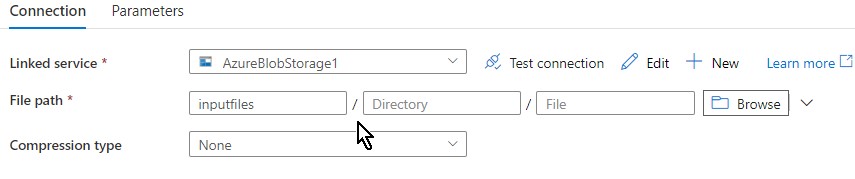
Browse through the blob location where the files have been saved. One thing to note here is I am not giving any file name or extensions here as I am providing those details only in the wildcard section like in the next screenshot.
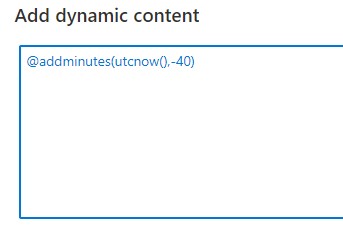
I selected the wildcard path and mentioned all the files that are with “.csv” extension created within last 40 minutes to be copied over from that blob container.
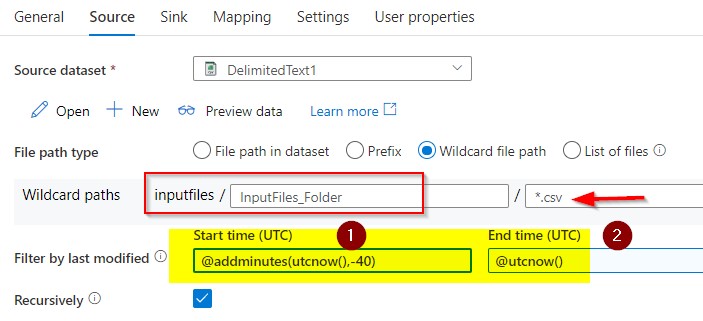
The above image shows how are trying to pick only files with .csv extensions that are created in the last 40 minutes only. Start time is configured current time (utcnow) minus forty minutes and endtime is current time.
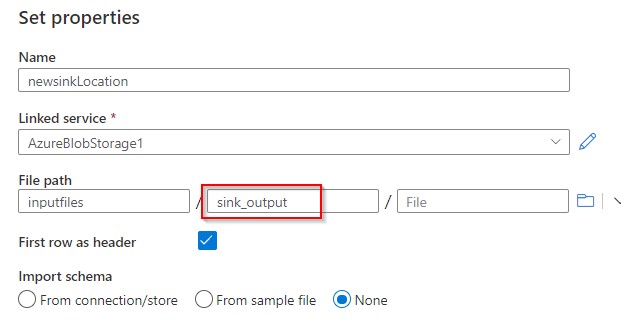
Similar to the source dataset selection now create the sink dataset. There might not be a folder, but you can provide a name you want and it will be created in the blob storage.
That is all for sink configuration, we have succesfully created the destination now.
Its time to debug and check how the files are picked up for copy. Before that its better to look at the container first and take a note on the folders, file names and types, so it will be easy for you to find out the actual copy is success or not.
There is no output folder as of now, lets see how this creates a folder and then copies the files.
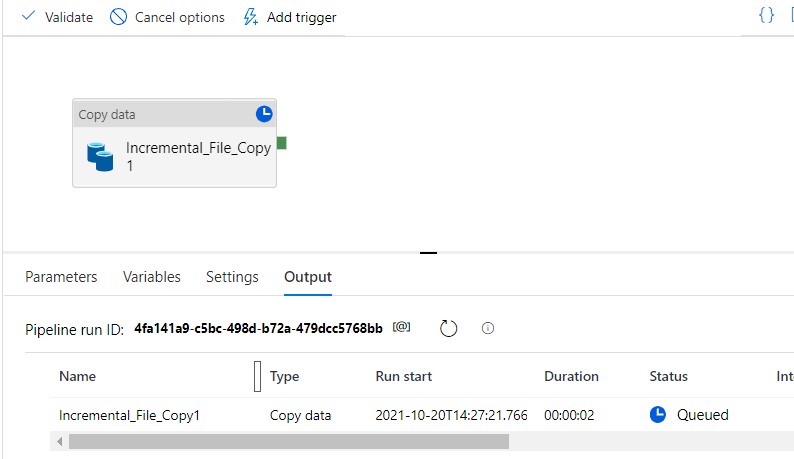
The small eyeglass button over there will let you see the details of how many files has been processed and how did it ran.
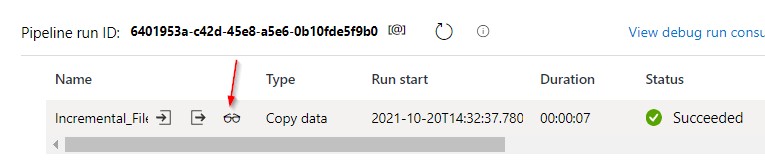
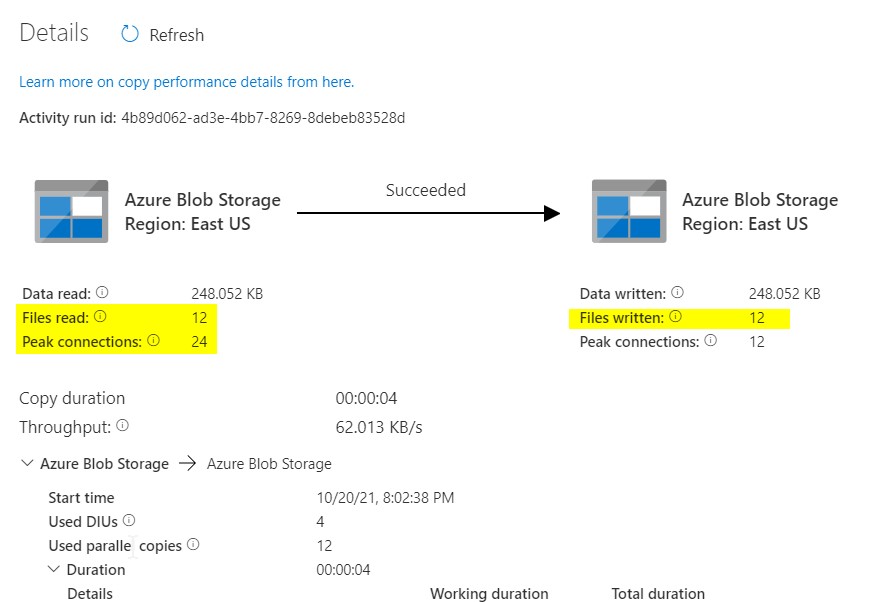
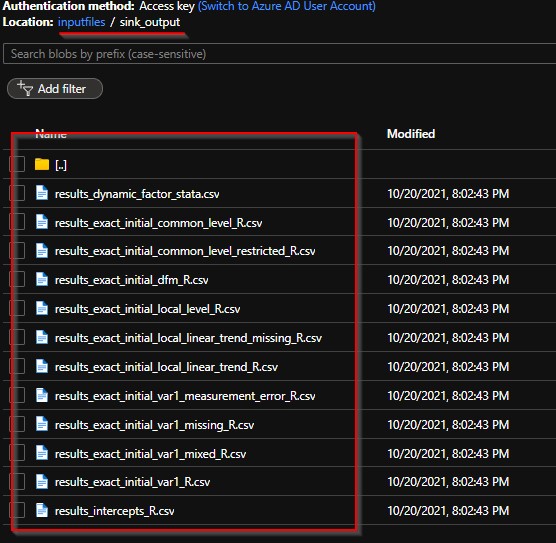
Now the pipeline has been successfully run, lets check the output folder is created and the files are copied.
Now that its all good, go ahead and publish the pipeline for your use.
Summary:
We saw a simple file copy activity based on file extension and recent modification time. How could we leverage the features of azure data factory pipeline to automate file copy from one location to the other. There are plenty of other parameters available for you to explore apart from days, hours, mins, seconds etc. We will catch up with another interesting use case in coming days.