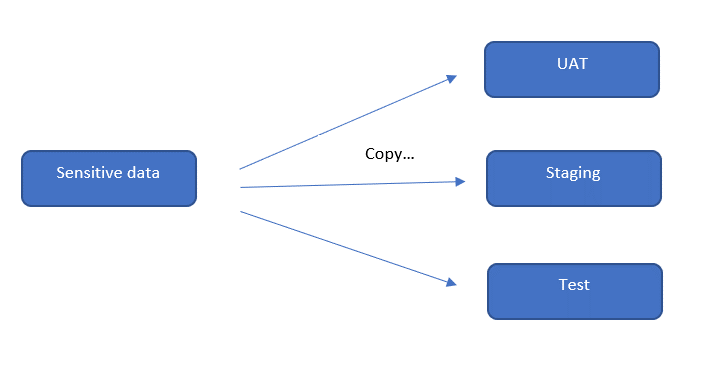
Data security is hot topic given the data breach we hear about it every day. Though there are various specialized tools available in the market, multiple questions arise on their accessibility, Sharing and data transfers within the organization. Mostly in an organization there might be need to refresh(copy) production sensitive data to multiple nonproduction environments like staging, UAT, test etc so that other teams like application, testing or QA teams can work on them. Imagine you have a table with sensitive information and that will be permanently transferred automatically to other environments since it resides under your production database and be made available for users at all levels including those who you do not want to be seen.
Static Data Masking:
One of the mostly used method in such scenarios is the Static data masking which has been offered within synapse analytics that will restrict the exposure of sensitive data’s permanently to its end users. It uses a masking technique that will replace the sensitive data through altering data at rest.
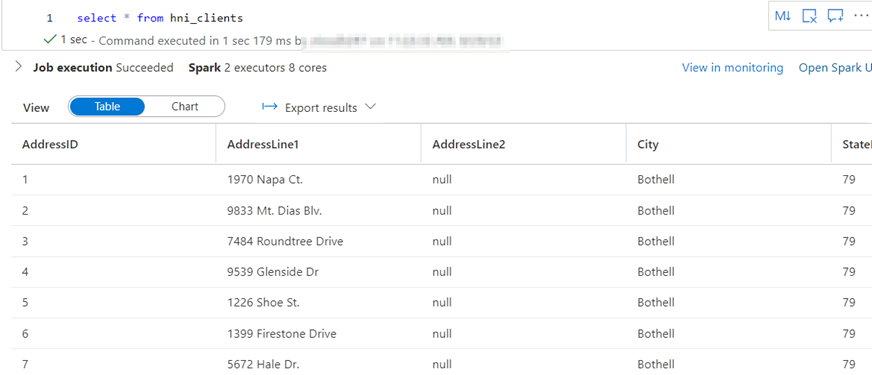
I have created a sample table with address fields which we are going to work on. Currently the sample data is loaded into the lake database and looks like below.
| Static Data Masking | Dynamic Data Masking |
| Works on copy of table | Works on the original database table |
| Cannot access the original data | Original data intact |
| Masking happens at the storage level | Masking happens on-the-fly after you execute the query |
| All users have access to the same type of masked data | Varies based on level of permission the user has been granted with |
Steps:
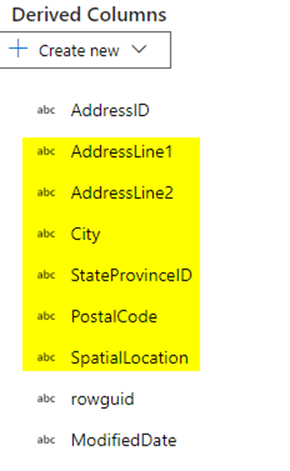
I have a database with a sample table which I am going to use for this demo. You should not perform masking to the source or golden copy of your data, or you will be in risk of losing it, as SDM permanently alters the data to perform the masking. I will mask the 4 location columns from source table when copying to the newly created destination table.
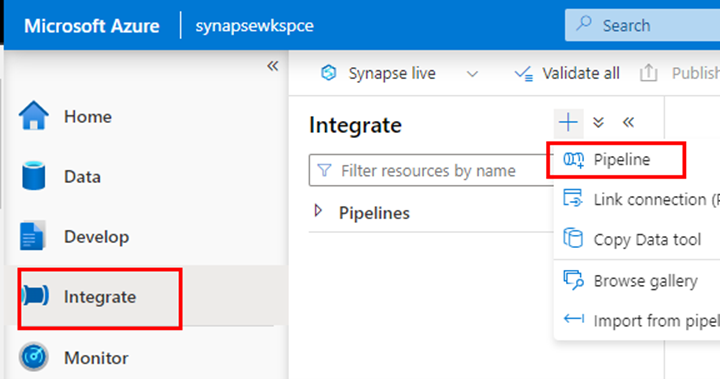
Go to synapse studio and create a new pipeline.
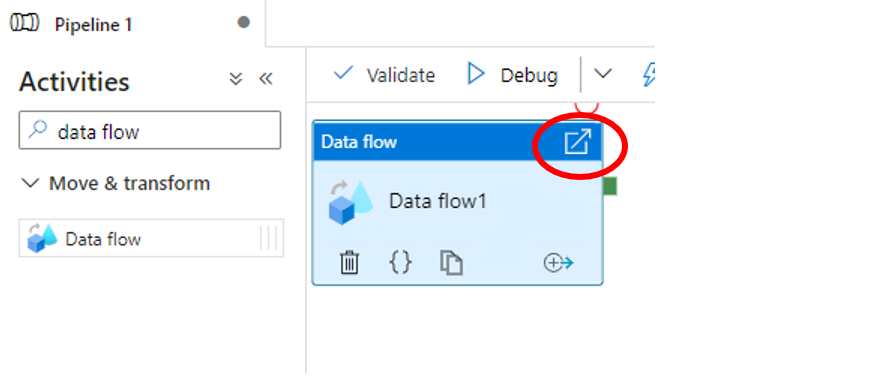
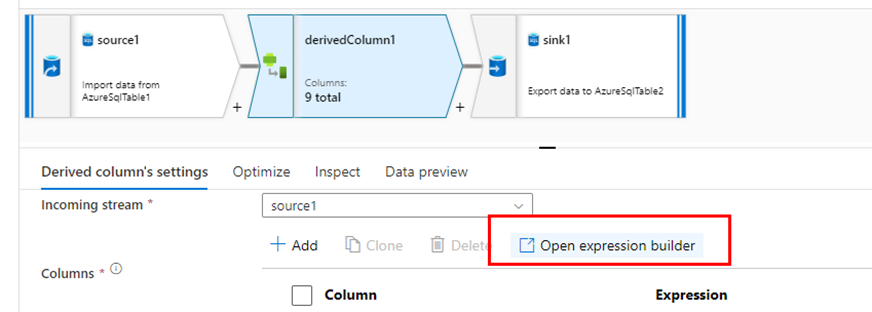
From move and transform select Data flow task and drag it to the canvas. Now click on edit button to open the next canvas where you will have to create 3 steps namely the source, derived column and then the destination sink.
Now creating the source and sink to select your source and destination tables. Both steps 1 and 2 are identical and very easy to create, hence skipping this part.

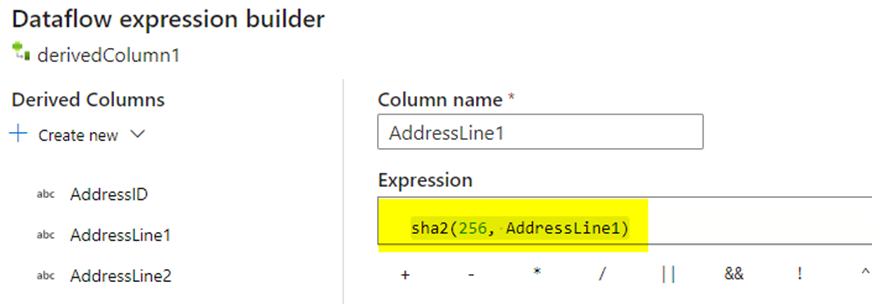
The step number 3, creating the derived column by mapping all the columns to its respective destination columns. Now get into the expression builder and choose the columns that you want them to be masked and include them with sha2(256, columnname) expression. Here we use the normal SHA256 hash function algorithm for encrypting the data present in the columns.
Below are the address columns that I have masked when creating the new table.
Once completed now trigger the pipeline to get it completed successfully.
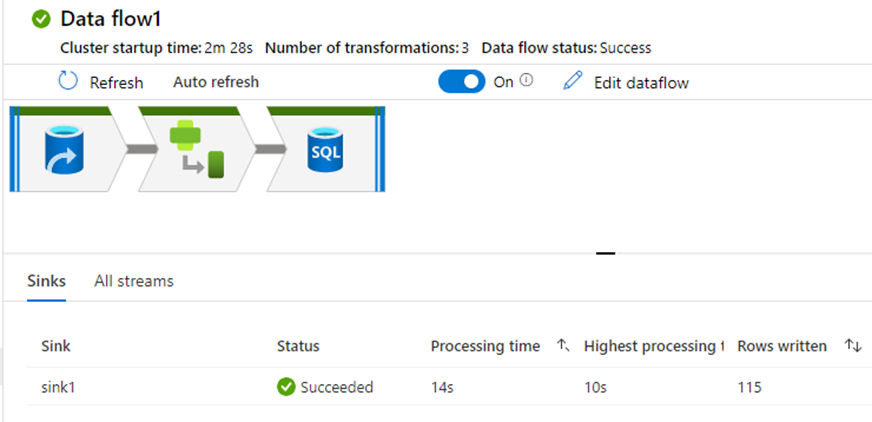
With the pipeline complete now we must check both the tables to see the difference how the masking data is stored.
Note: I have used the SSMS (SQL Server management studio) since I could cover most of the masked columns in detail from this than from the synapse notebook. You can continue with the same synapse notebook to verify and complete this.
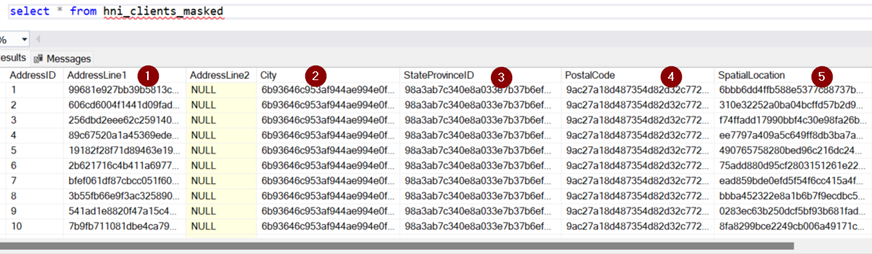
Masked table: Created using the source table
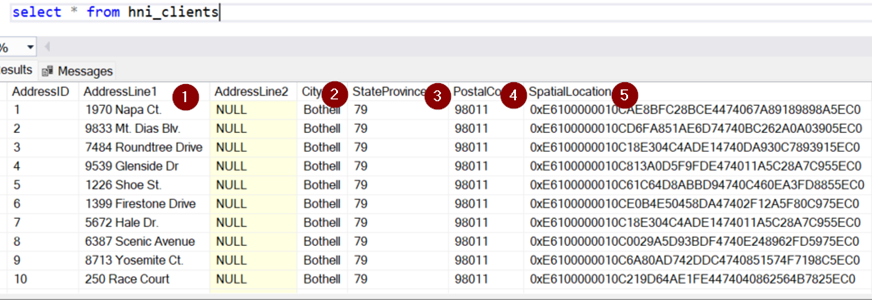
Source table Unmasked
This is the basic practical implementation of static data masking feature in the azure synapse. This feature is common for all the Microsoft data products such as SQL Server, Azure SQL, Azure SQL managed instance and Azure synapse analytics. Hope the live demo would come handy in case you want to implement such methods as well as for your understanding.