Introduction:
In continuation to our previous article, we will look at how could we use parameterization into datasets and pipelines. We will also implement a pipeline with a simple copy activity to see how and where we can implement parameters in azure data factory.
Consider a scenario where you want to run numerous pipelines with many datasets for your project. At times this becomes very hard to manage multiple linked services one for server name, database with different credentials and it becomes a tedious process. What if there is a way to use a single linked service or pipeline for all requirements, sounds good right? This is what exactly parameterization does. It helps us to enter server name, database name, credentials etc., dynamically when we are running the pipeline thereby helping us to reuse instead of creating one for each request.
Parameterization in Datasets:
Let’s look at a demo on how to get use of the parameterization in datasets. In my previous article I have discussed on how to use parameterization in linked services. On that I have created parameter for database name which obviously means that I can give different db names dynamically over the run time instead of creating a linked service for each requirement.
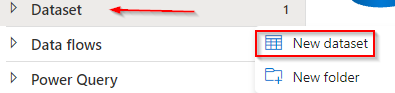
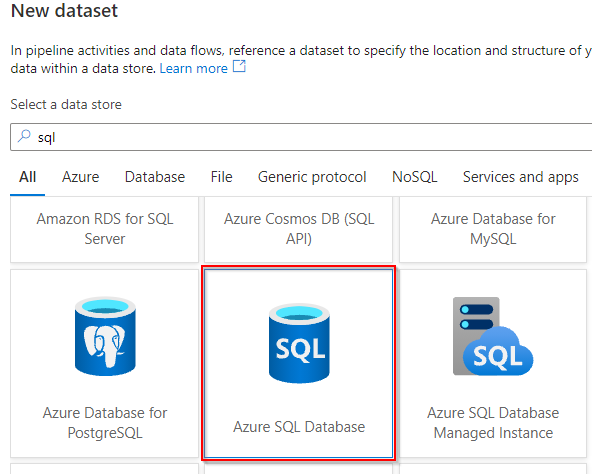
Now go to azure data factory studio and create a new dataset like given below.
I have a SQL database in my azure subscription which I will use for this demo. The database can be selected as per your choice within the given list.
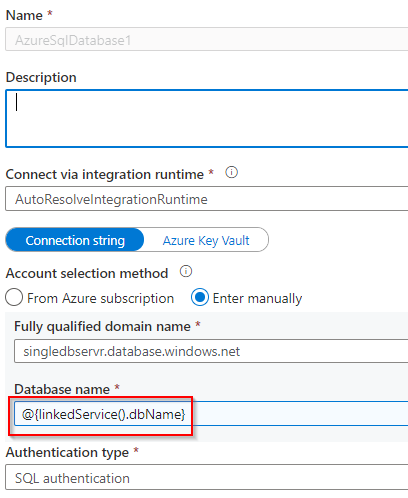
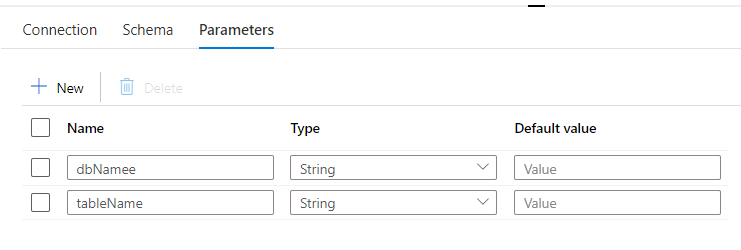
Once after creating the dataset I have selected the linked services which I have created earlier and then I am creating two parameters through the parameters tab, one for dbName and tableName. Remember the dbName parameter is which we created when creating Linked services earlier hence I have referred here additionally the table name as well. The default values can be left blank as we should be able to pass the values dynamically when running the pipeline.
Once after this is done you can call your dataset anywhere in the pipeline and pass on values at run-time.
Parameterization in Pipelines:
The demo task we are looking at today is to copy records from one table to another in a SQL database. We will create a new pipeline and then click and drag ‘Copy data’ task from ‘Move & transform’. There will be options with multiple tables for configuring source and sink(destination), settings etc. once when you click the copy data task.
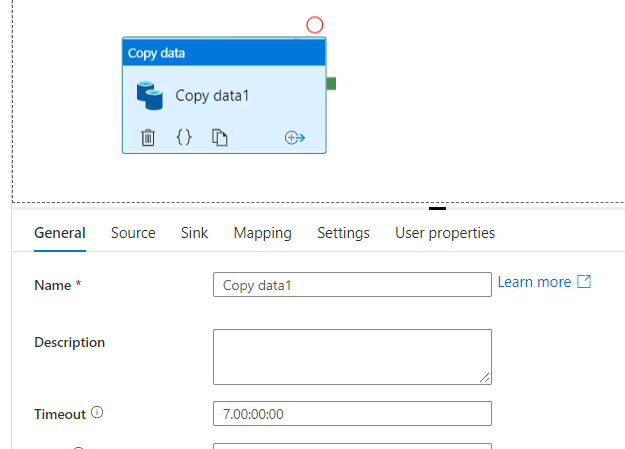
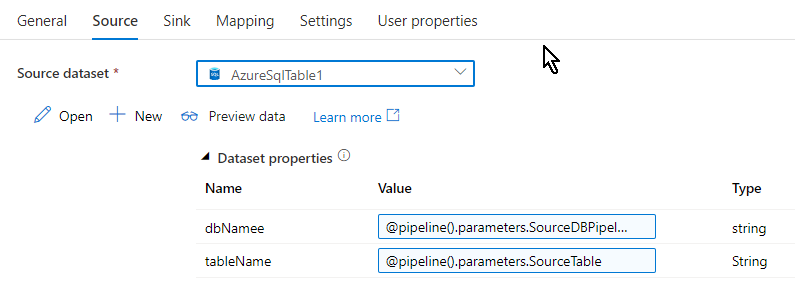
Other than all the tabs provided here, the tabs we will working on is source and sink. Obviously we have to call the dataset that we have created in the previous section into ‘Source’ tab. We can see the parameters that we used when creating the dataset will be listed out as soon as we select the source dataset –dbName and tableName in this case.
Similar setup goes for the destination too, the ‘Sink’ tab. Since this is a demo I am copying data from one table to another in the same database, you can create the sink to be another sql database or any other destination as per your choice.

By this time if you are wondering what value has been given in the parameters for both source and sink, let me explain. Since I am going to copy records from one table to another from same database it is very simple and easy to hardcode the tableName and dbName but that will restrict me to use the hardcoded value only and cannot be reused with any other tableName or dbName. We can overcome this by creating parameters on the fly at the pipeline level.
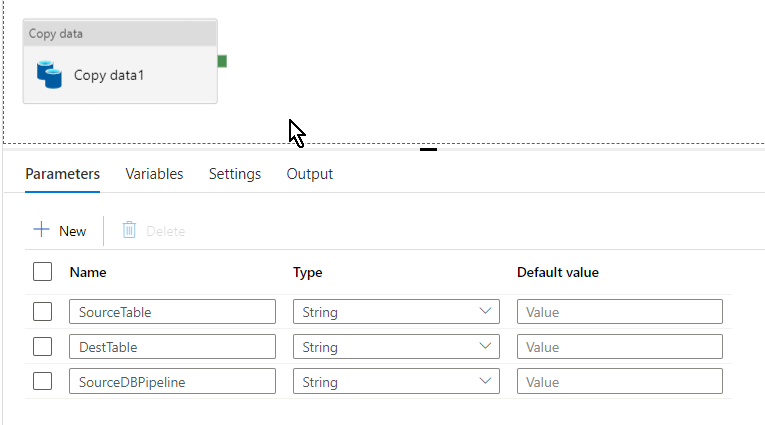
I have created three parameters SourceDBPipeline and SourceTable(dbName and tableName from dataset) for source and DestTable (destination table where the records will be copied to) for sink. So now all the parameters has been created and set how are we going to implement it? Where these parameters are going to be called out from and at which step would we be able to enter the database and table name? Here comes the final part…
Trigger:
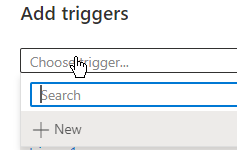
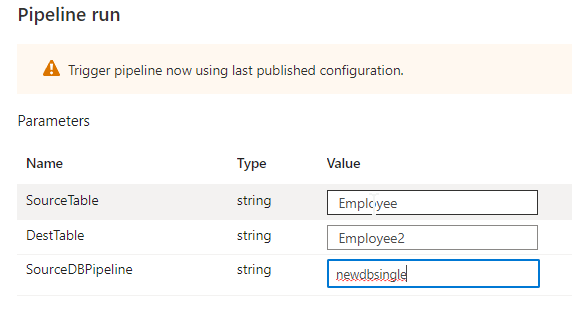
I have discussed triggers in one of my previous blogs that it is an scheduler or mechanism where we could run our pipeline. Here we are going to call out the parameters just when we trigger this pipeline. We can see the trigger button at the top center above pipeline window, Just click it and create a new trigger.
Once when you have enter the details and click OK and you will landed into a new window called ‘trigger run parameters’ where we will be hardcoding the database name or table name dynamically as per our requirement whenever we run the pipeline.
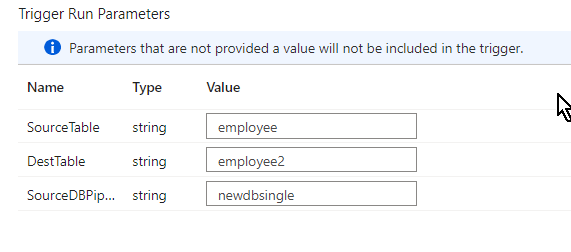
After entering the details click OK and then publish the pipeline to run it. Remember to debug it before you run.
Demo:
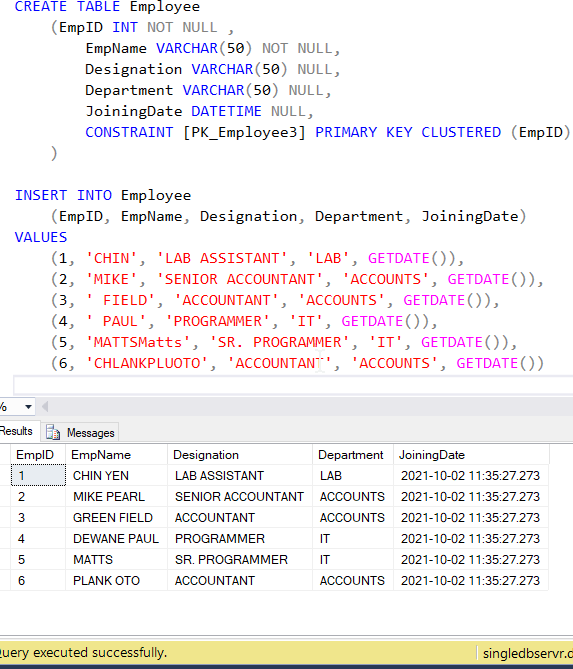
I have created a table called Employee and filled it up few dummy rows just for this demo. This will be acting as source table and the records from these tables will be copied over the new table using the pipeline.
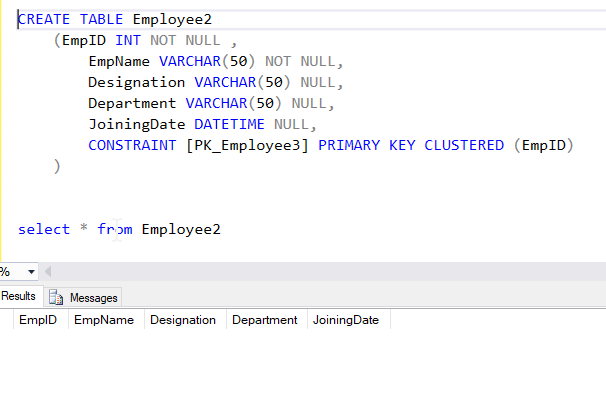
I have also created another blank table Employee2 as the destination table. Lets trigger the pipeline and see if the records are copied over.
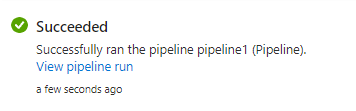
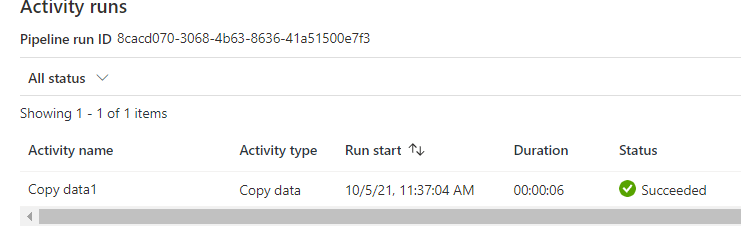
We could see the pipeline succeeded.
See the records have bee copied to the new table Employee2

Summary:
In this article we saw demo of how end-to-end parameterization could be implemented on both datasets and pipelines in a practical scenario hope this will be helpful. We will look at more azure data topics in coming weeks.
References:
Microsoft azure data factory official documentation.