Introduction
In this article we will look at our first hands-on exercise in Azure Data Factory by carrying out simple file copy from our local to blob storage. The steps has been given below with explanation and screenshots.
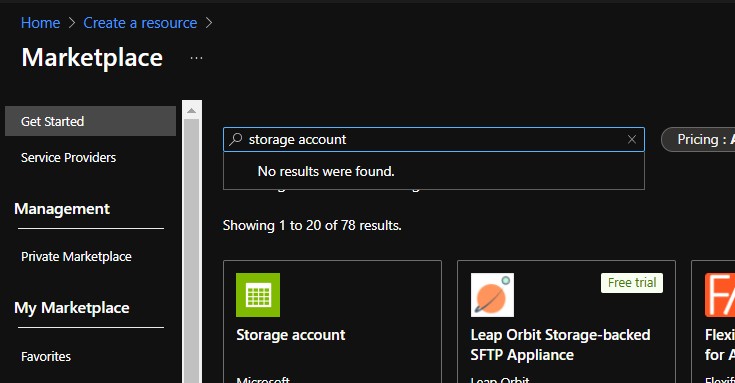
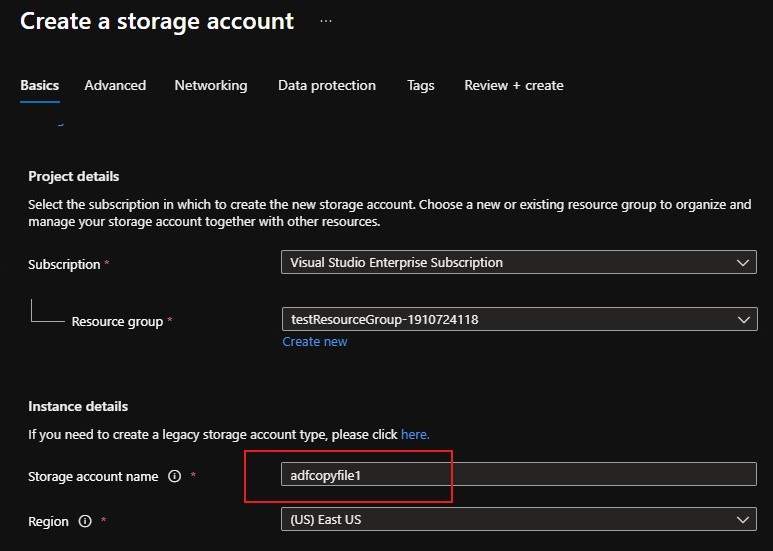
Create a storage account
After creating storage account, create container which will hold the data that we are going to work. In simple terms its like a folder inside a bigger directory which would be useful for segregation
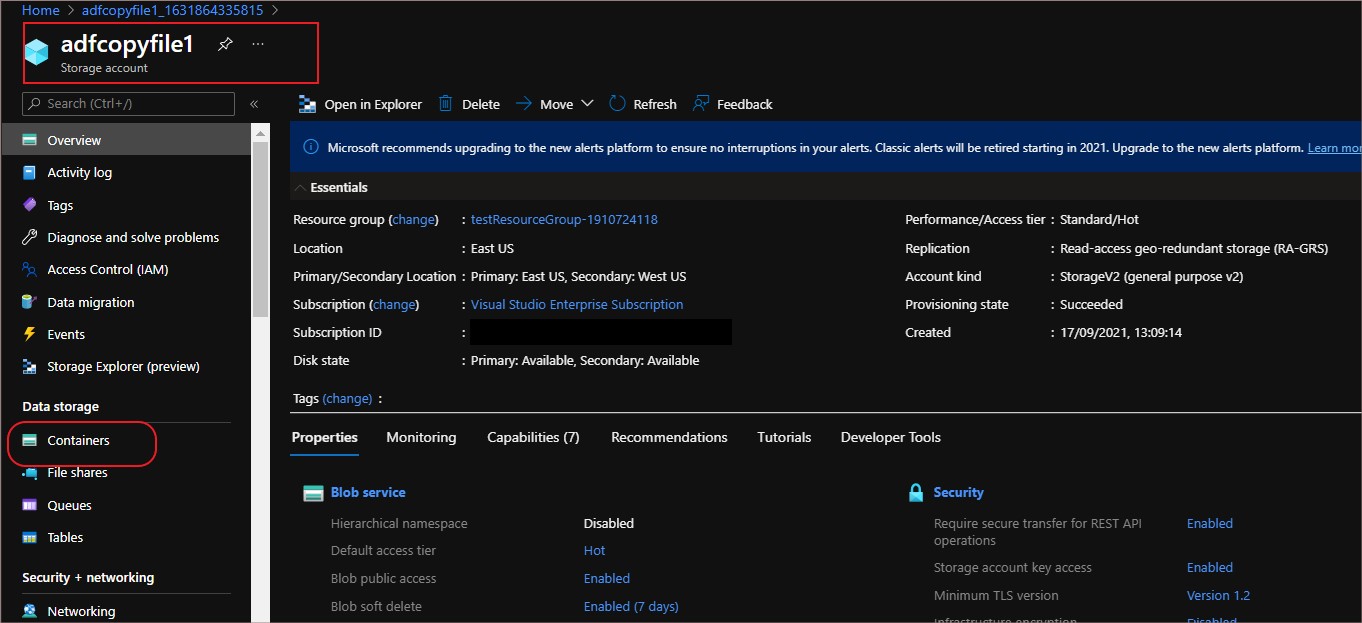
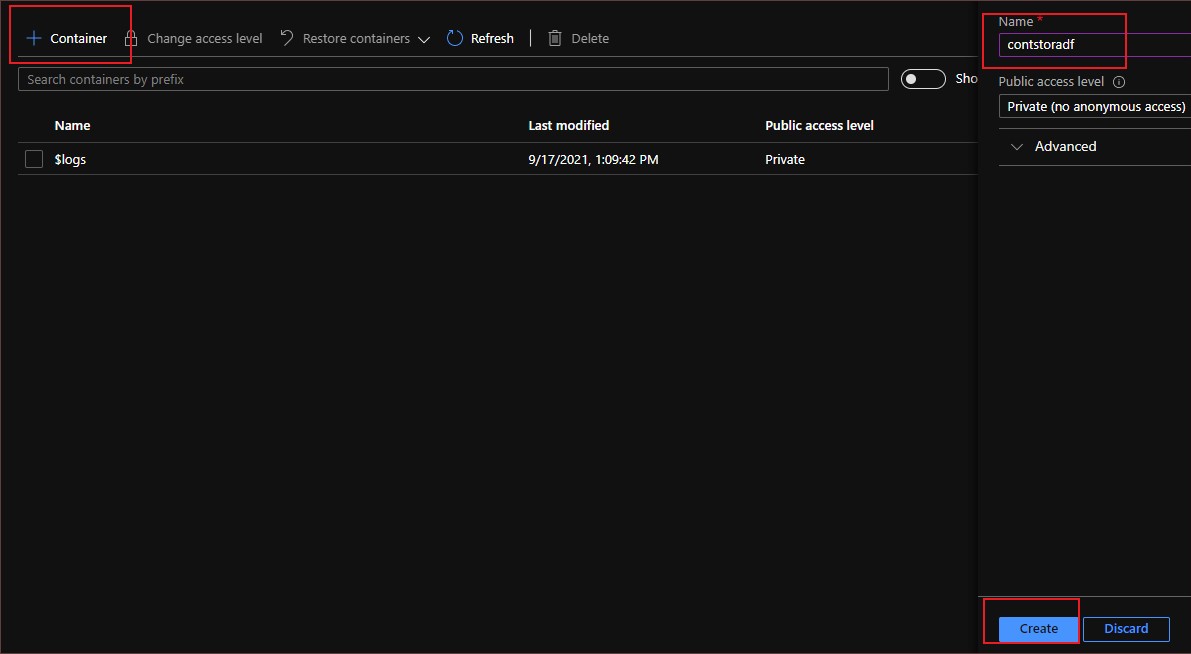
Create container using the ‘Containers’ option in the storage account overview page
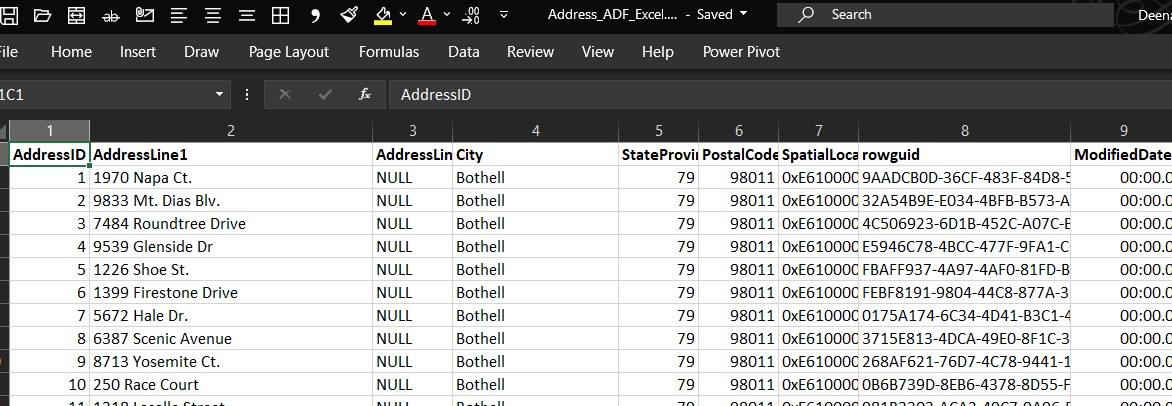
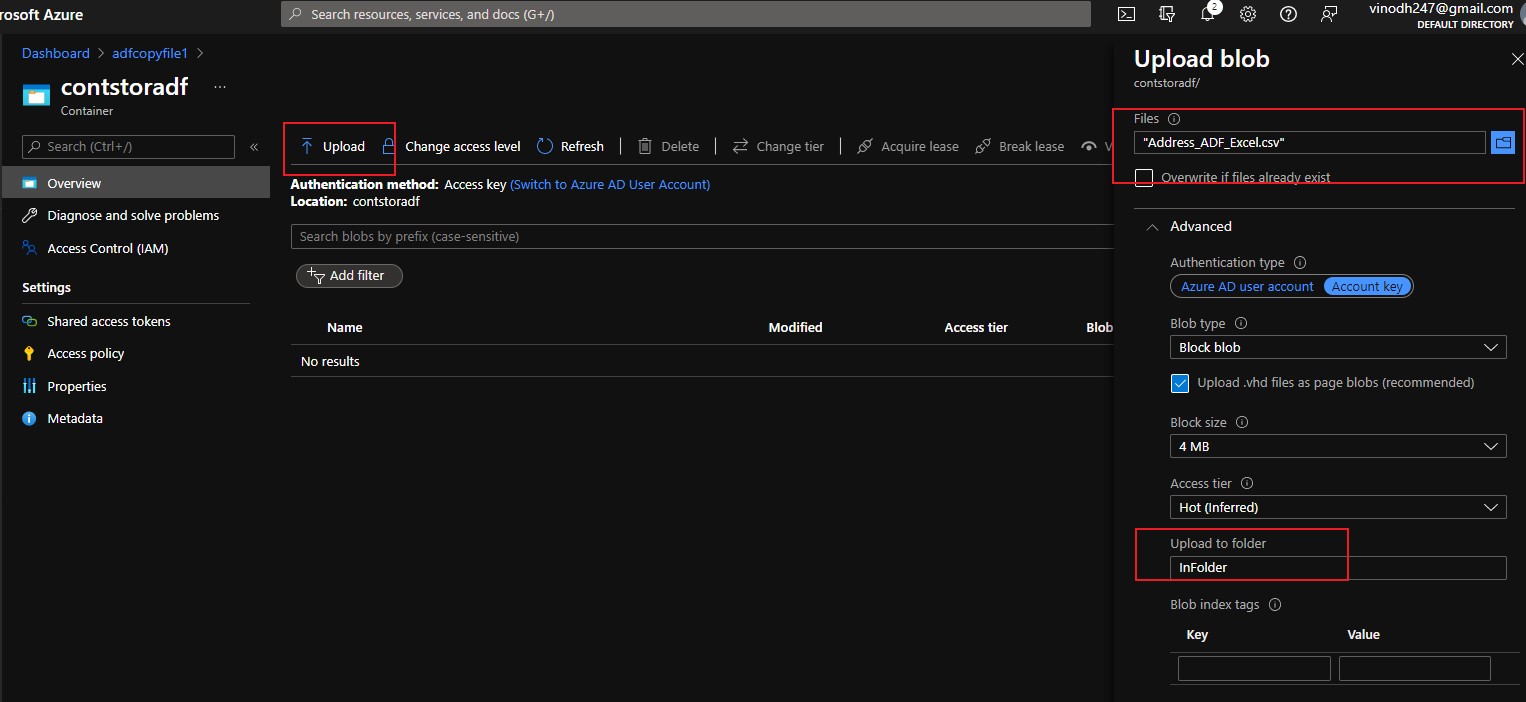
I am going to create a input folder and upload the file we want it to be copied. The file I have chosen is an CSV file containing around 13,303 rows of sample data containing address and names.
Sample data will look like this…
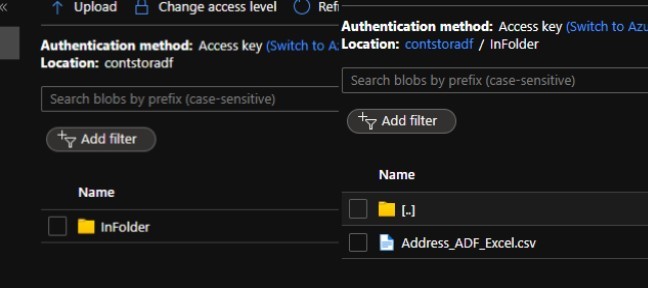
The folder is created with file inside it
Once created we can open the file and view contents inside with the inbuilt editor. Please note that the data limit for a file to be previewed through the ‘Edit’ tab is 2.1MB.
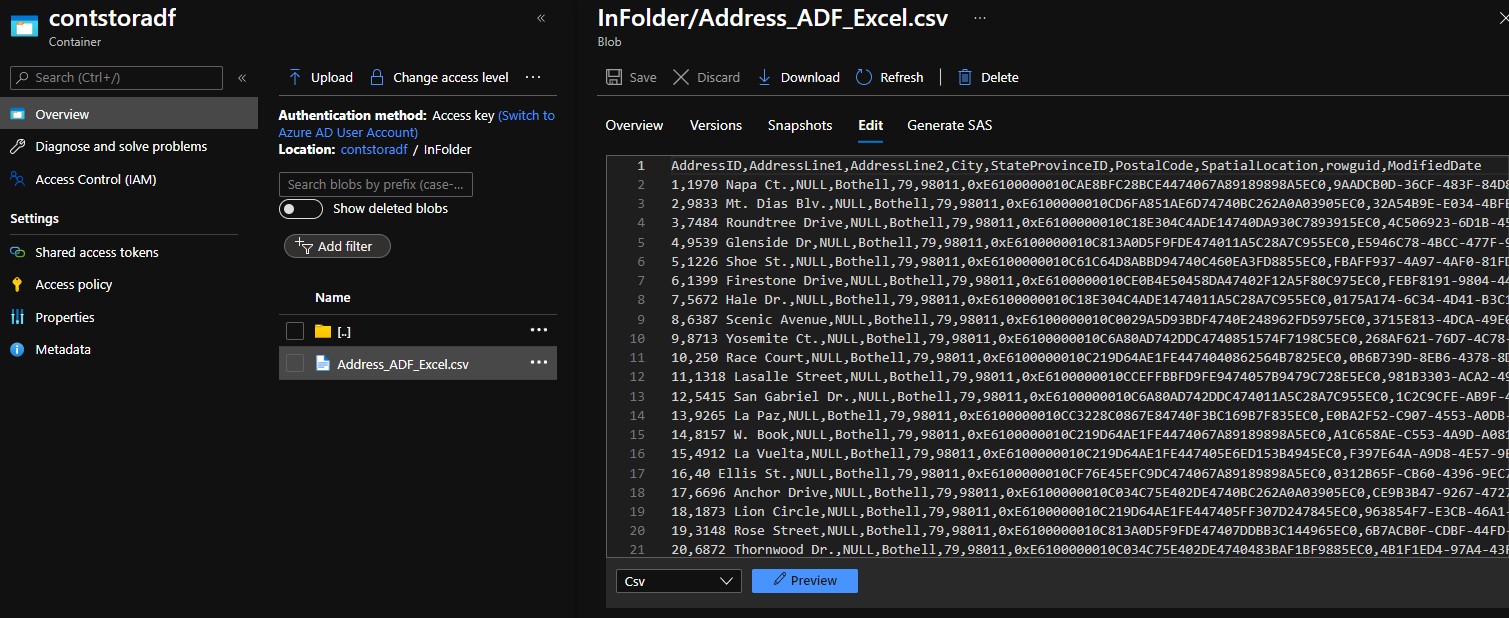
You can also get to see the ‘Preview’ button which helps you to view the data in tabular format, just in case you which to see it as is like CSV.
Now we have created storage account and created an input folder and also placed a file inside it which makes our input ready.
Create new resource Data Factory

I am simply creating Data Factory resource with default parameters so no git configuration or advanced tabs that should be looked into.
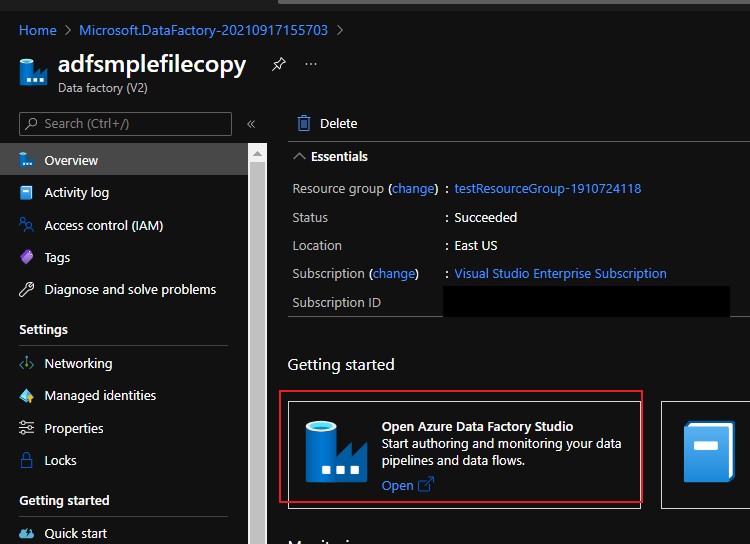
After clicking the azure data factory studio, you will be opened with in a new tab in your browser next to azure portal where we will be carrying out further steps.
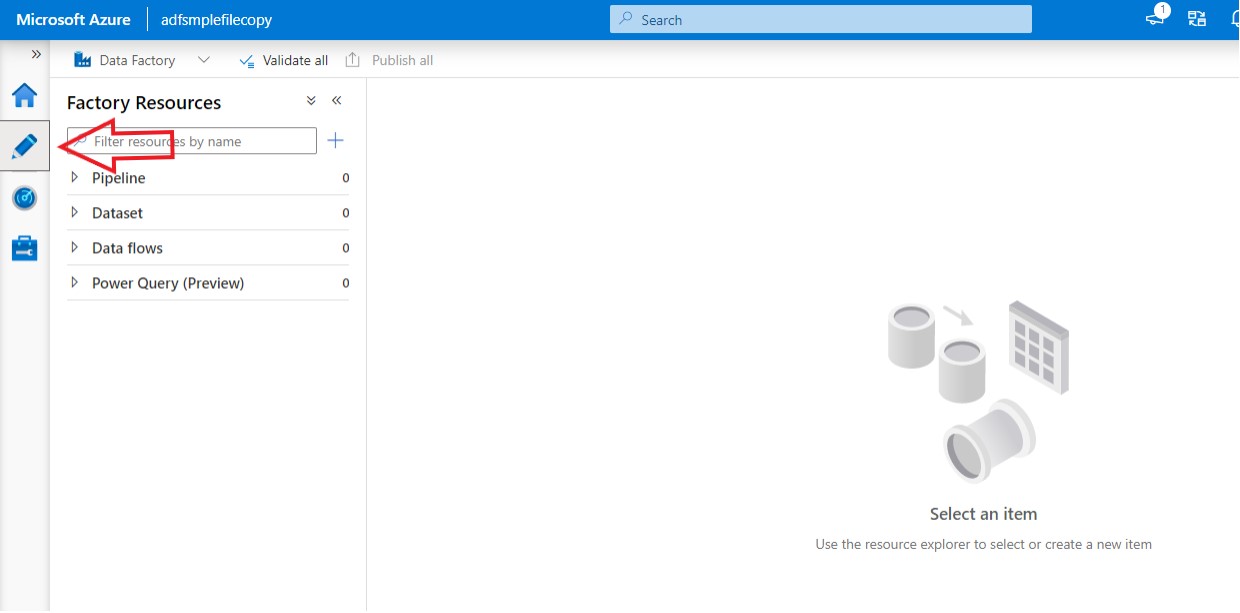
Click into the Edit (the pencil icon on the left side) mode in data factory studio
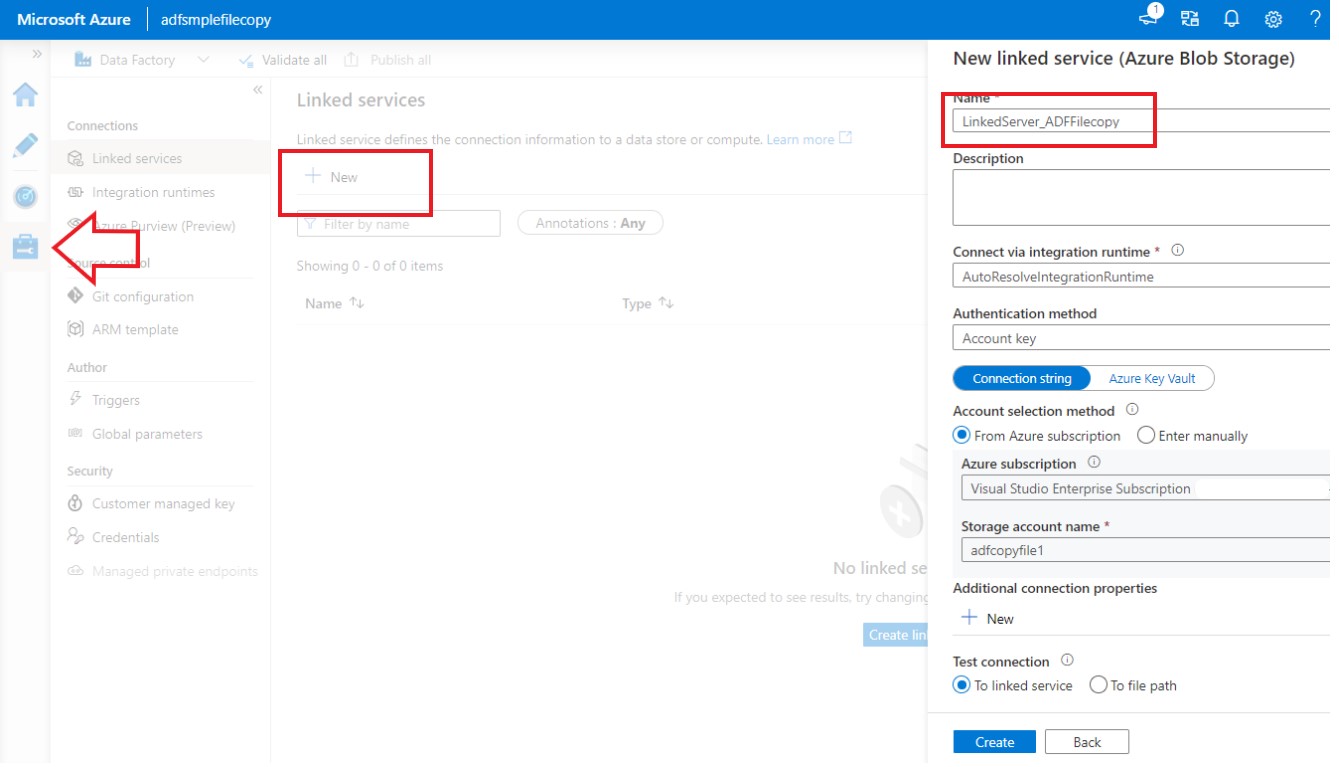
As a first level we must create linked services through which the connection will be made between source and the destination. I am going to select as blob storage as we are dealing with CSV.
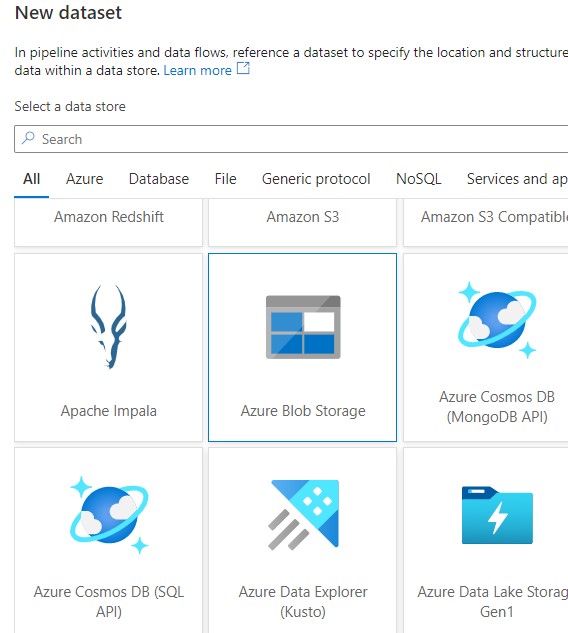
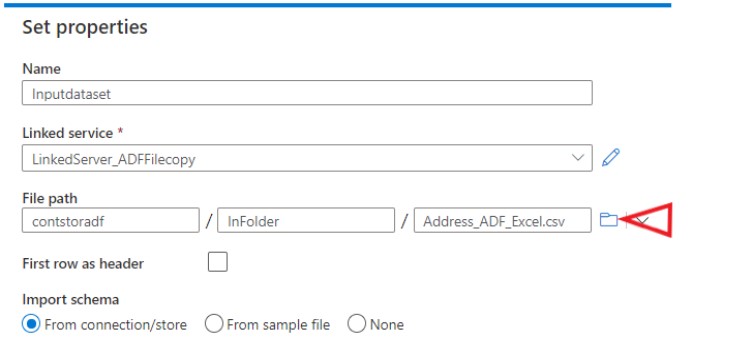
After the linked service has been created, go back to edit mode to create output dataset. I have selected Azure Blob Storage and Delimited text (since ours is an csv file) as Storage and structure options respectively.
Choose the next steps using the browse option to locate the input file. The name can be given as per our choice for reference.
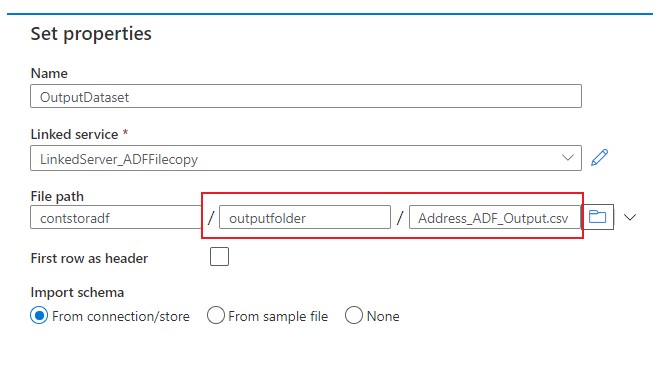
Similar step must be carried out in creating the output folder and file name so that the copied data can be placed. One thing to note is you cannot browse the output folder/file as there won’t be any, you can name them here for it to be created.
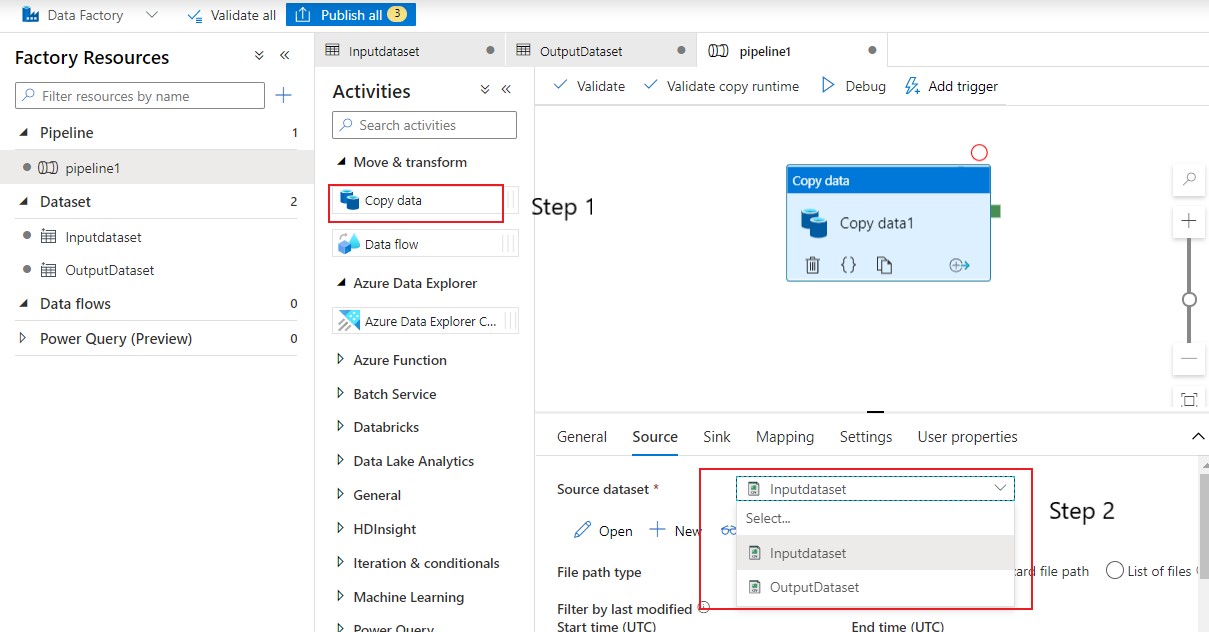
Now that we have created both the input and output datasets and linked services to connect, let us move on to create the pipeline by clicking ‘New Pipeline’
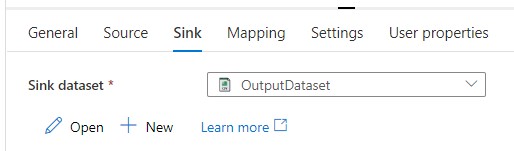
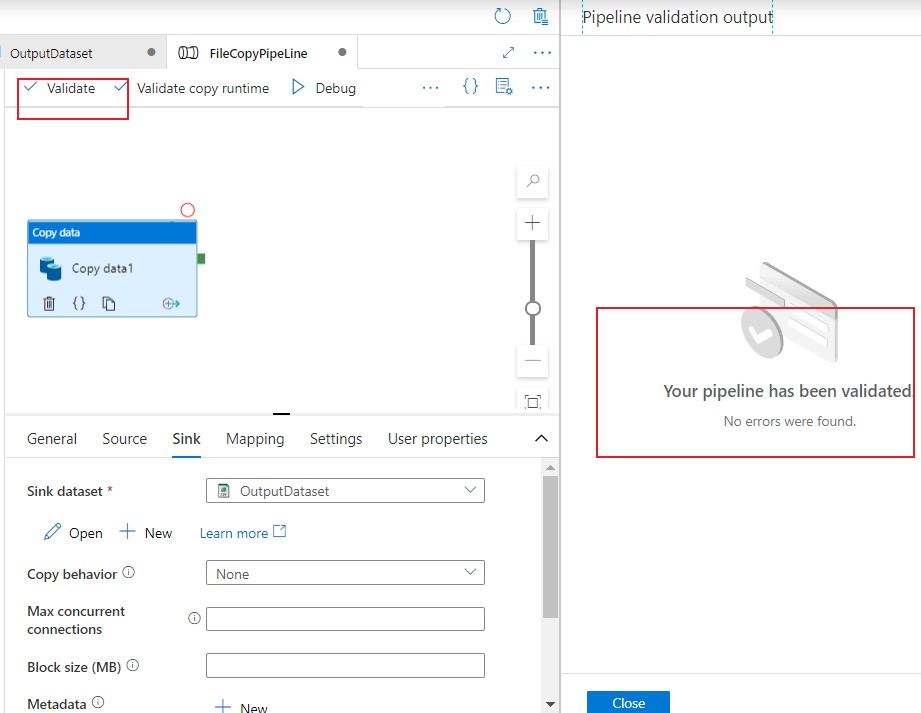
Create output from ‘Sink‘ tab
Now we are all set to publish the pipeline but before that lets do some quick prechecks like validation and debugging. Validate option will help us to check for any errors or any missed configurations and Debug run will help to see if the data movement is happening.
Debug is enough to complete your task if its one time and you don’t want use it in the future, whereas you have to publish the pipeline if you want them to reuse or schedule it for future use.
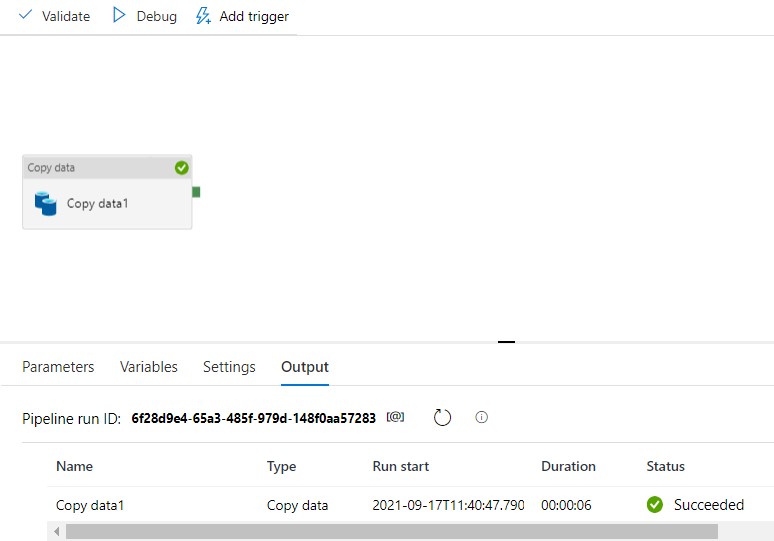
Now my debug has completed successfully let’s go to the storage container to check if the file has been created.
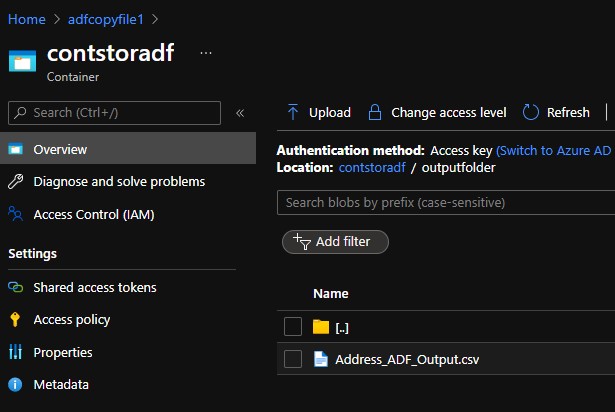
We could see the 12303 rows that we used as sample input has been created onto the output folder.
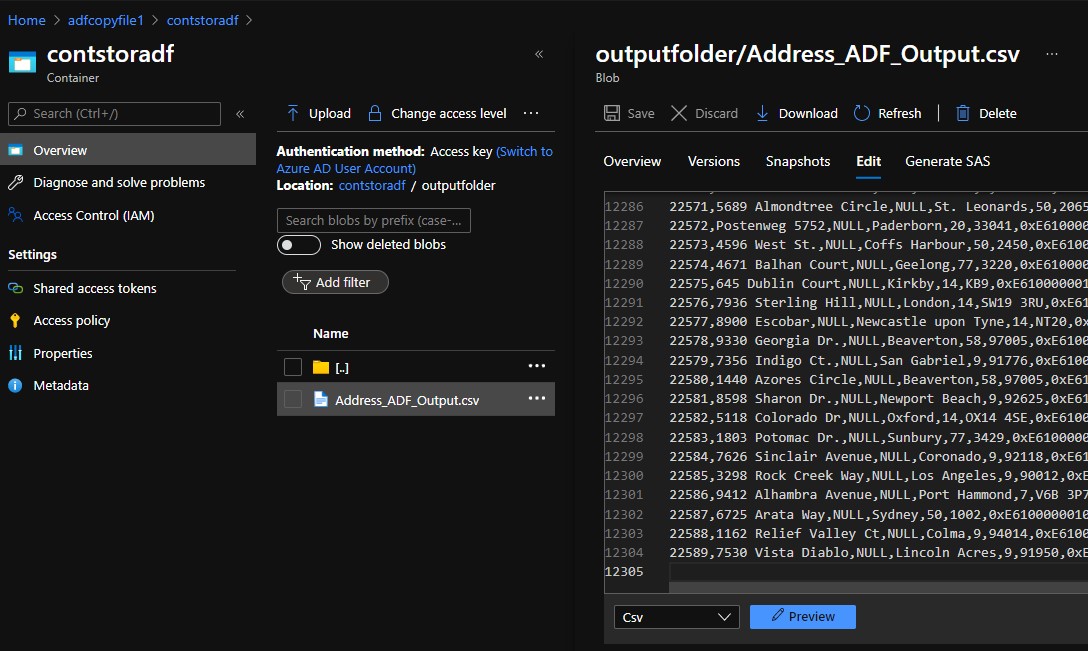
Point to note:
When you are moving the file, since the ADF copies the contents of the file from source to destination instead of moving as a whole, there is no way one could maintain the timestamp of the file.
Conclusion:
This is the very basic step for one who wish to get started with azure data factory. We will look into real-time and more complex tasks in the future posts.