Obviously you should have an active Azure subscription. If you are testing out this feature you can create a free account for $200 free credit to explore azure and 12 months of popular free services.
Creating resource group
All resources are deployed and managed from a resource group. A resource group is a logical collection of Azure resources.
Create resource group

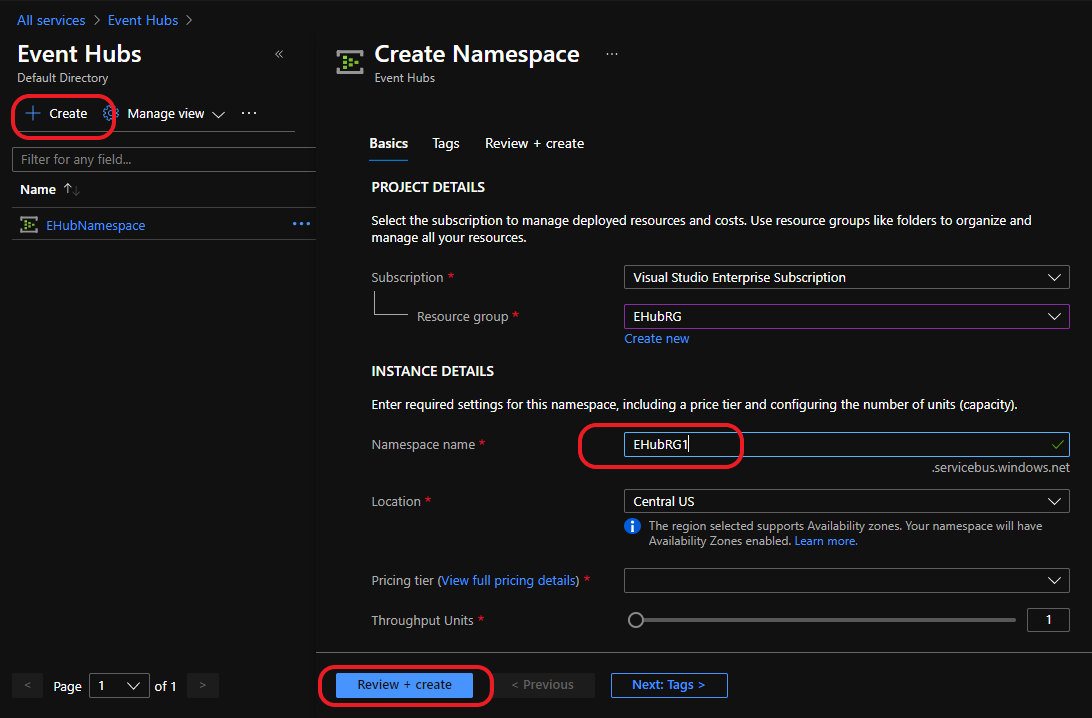
Create an Event Hubs namespace
Before creating an event hub you have to create Event Hubs namespace which provides a unique container, in which you create more than one event hubs.
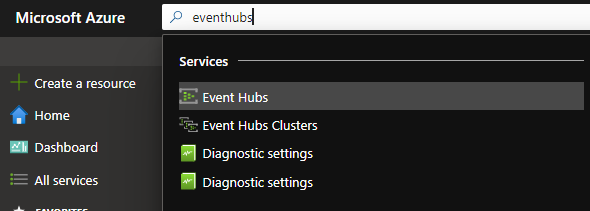
Type eventhubs in the search bar and then click eventhubs. Once selected create ‘Add’ to create a new namespace.
Create the new NameSpace using the resource group you have created in the previous steps. For the Location, Pricingtier and Throughput Units I have left it to default since this exercise is for demo purpose, you can decide based on your need when you are implementing this in Realtime.
Create an event hub
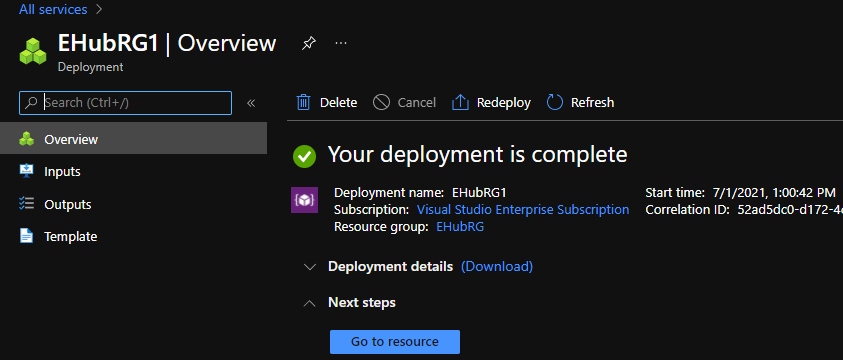
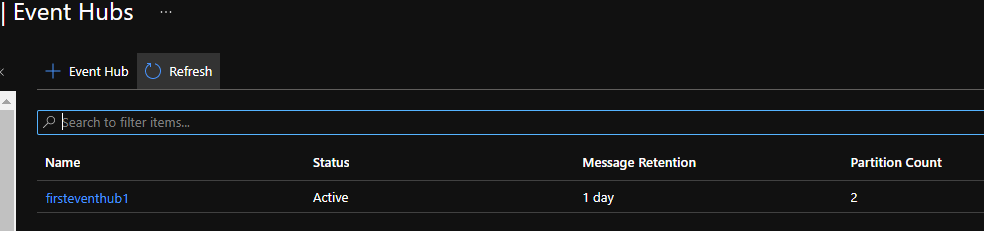
Now click on the ‘Go to resource’ where you can see the monitoring and other features are created for all the events that you are going to configure inside that Event hub namespace.
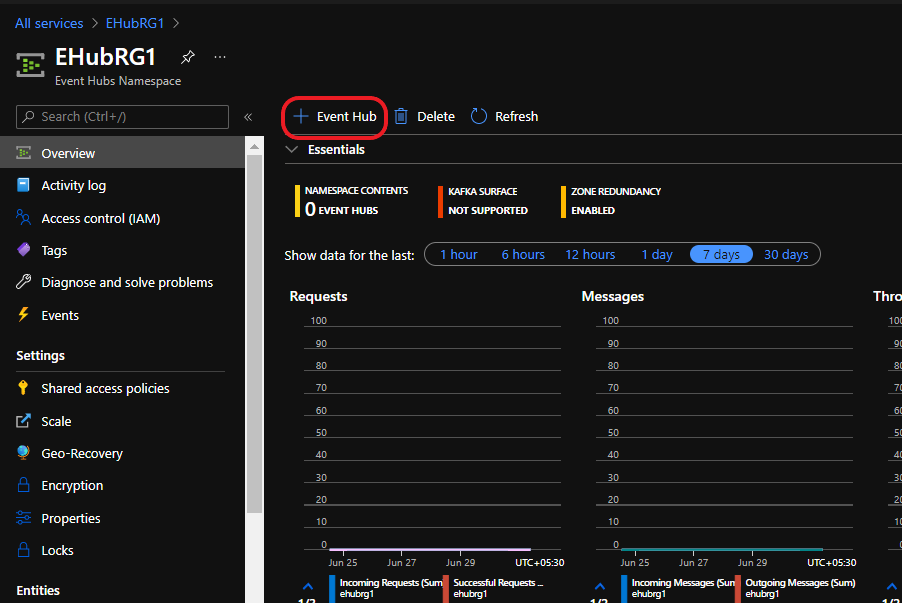
The ‘+Event Hub’ button at the top left as obvious lets you create a new event hub with options listed in the below screenshot.
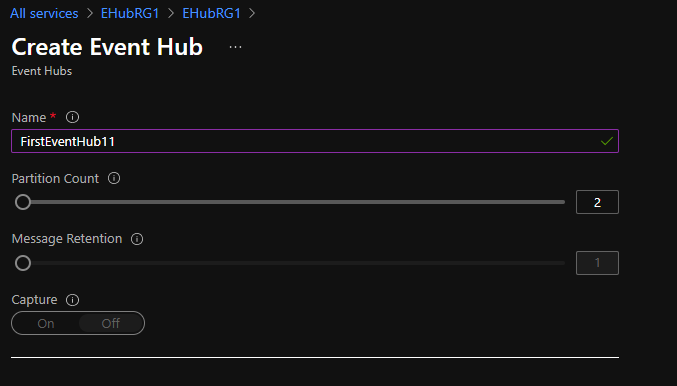
You could see that apart from a unique name that we have to provide there are two other options called ‘Partition Count’ and ‘Message Retention’. The ‘Partition Count’ setting allows you to parallelize consumption across many consumers, partitions has been discussed about in one of our previous posts.
The ‘Message Retention’ settings specifies how long the Event Hubs service keeps data.
This is an quickstart demo for how to create an event hub namespace and event hub. In the next post we will see how can we proceed with testing the flow of events.